Balua is getting aboard Landing Festival! Get ready!
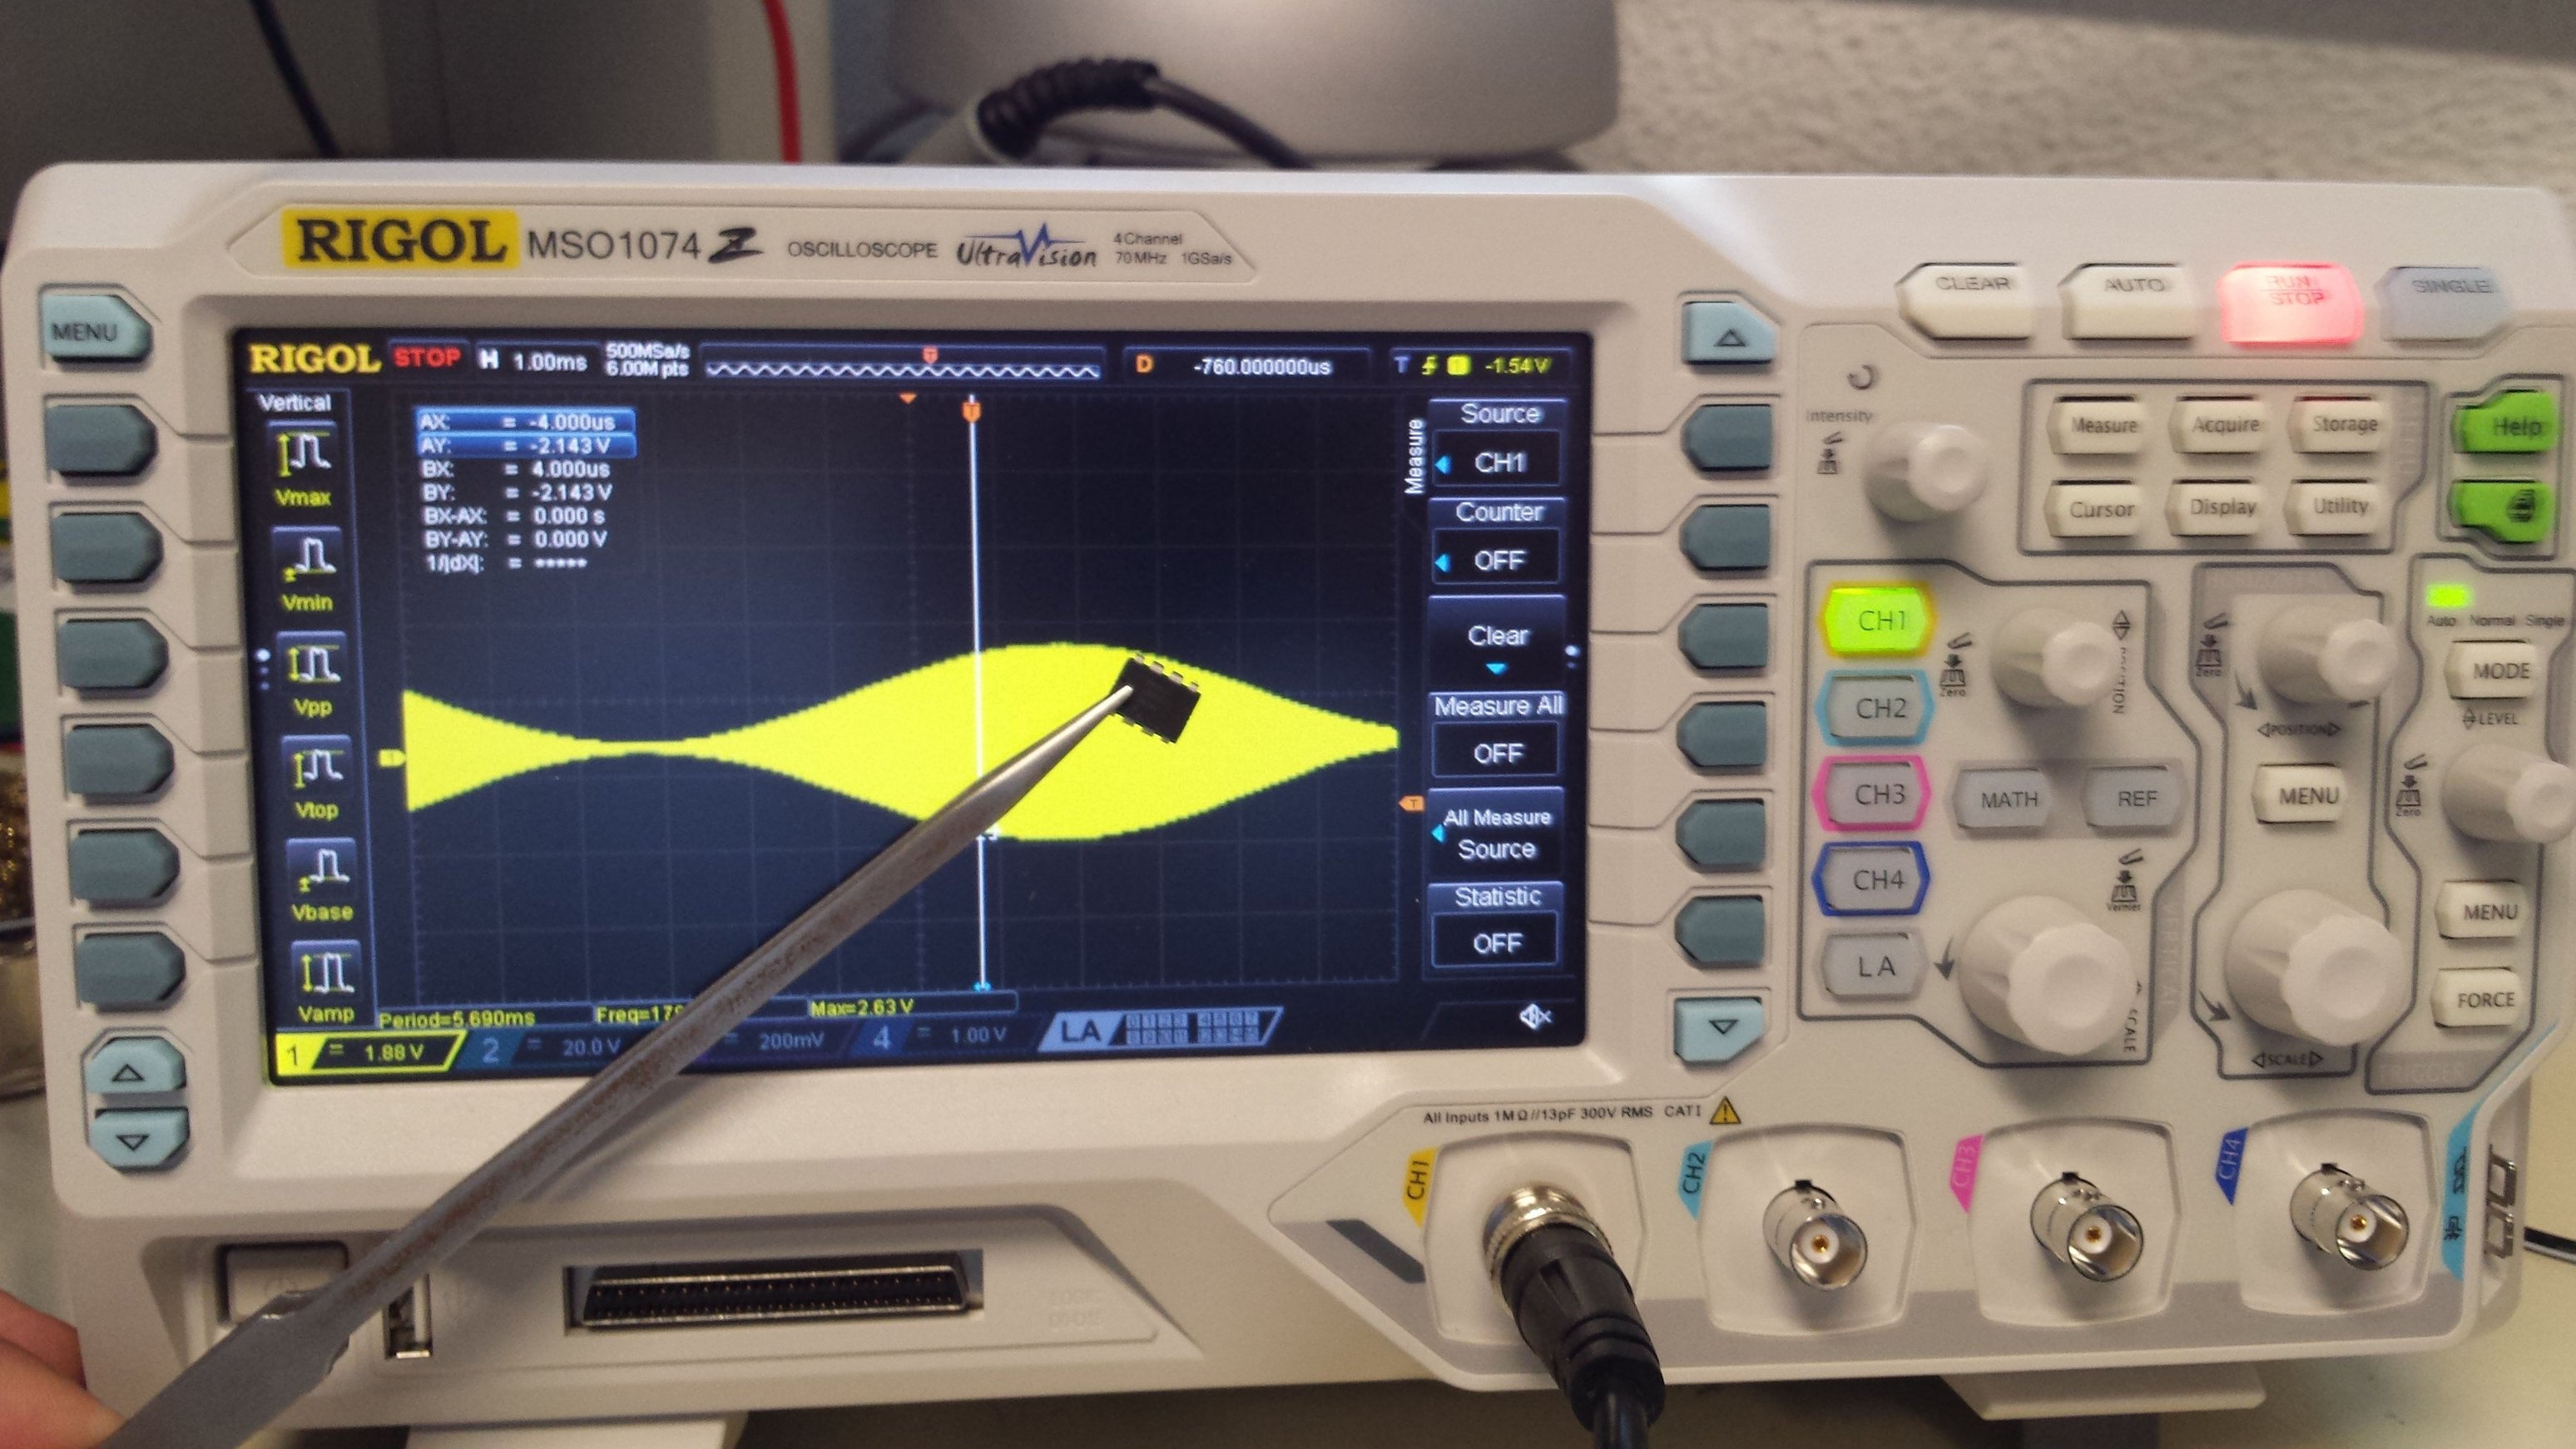
Disclaimer: No sardines were harmed during these tests.

Balua is getting aboard Landing Festival! Get ready!
Disclaimer: No sardines were harmed during these tests.
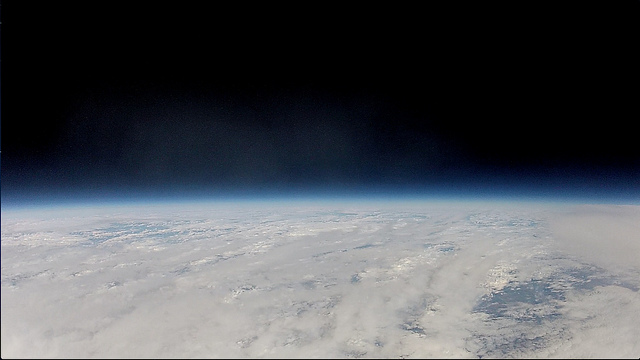
Last Saturday’s flight was once again a success and the payload landed safely near Castelo Branco.
We have collected awesome photos of the balloon in the stratosphere, the full set of images will be in our gallery section soon.
Here is a sneak pick:


Balua is launching another balloon Saturday (May, 2nd) in Benedita, Leiria at 9:00 GMT
This launch will be equipped with the new product from Sensefinity called Sensoroid Gateway Butterfinger. This equipment will send the balloon location in real-time through GPRS to their dedicated online platform (here), whenever GSM is within reach.
![]()
After several months of hiatus the team will finally launch another balloon! We are pointing to April 24, but that is still to be confirmed. Stay Tuned!!! More details about the location, communication and concept of this launch will also be coming soon!!!
See you from above!
The first edition of Lisbon MakerFaire has come and gone! We were looking forward to this event because it gave us an opportunity to meet with the makers community, introduce our project and connect with thousands of people.
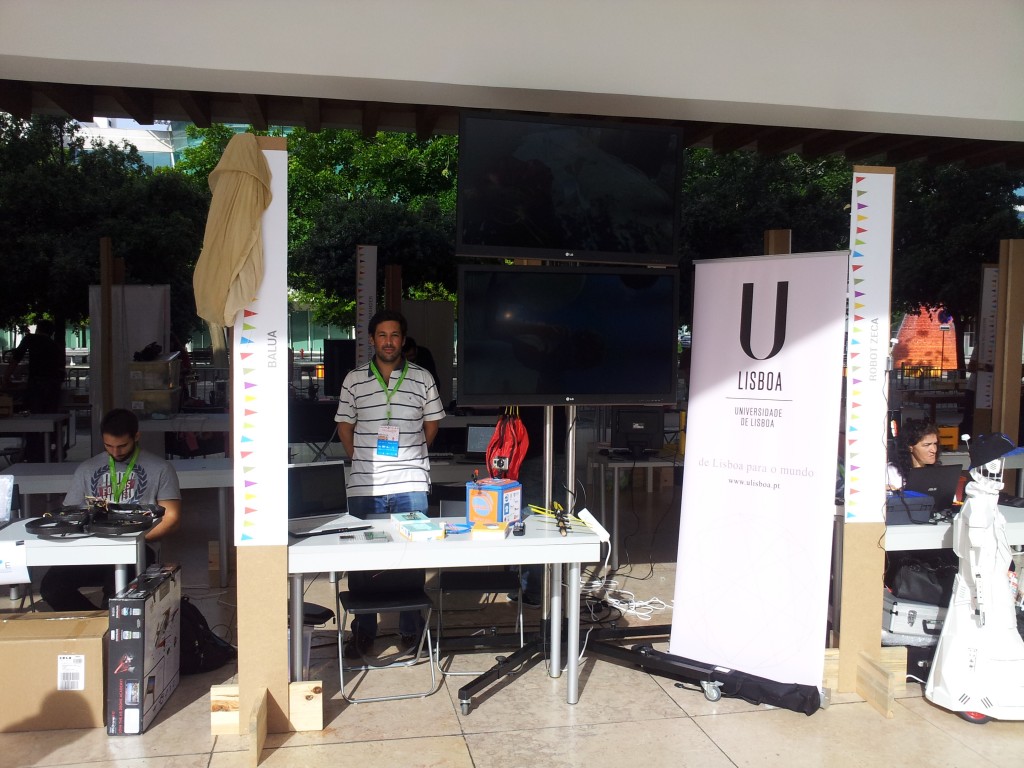
We spent the weekend showcasing BALUA, its activity, equipment and developments, chatting with thousands of curious and interested people about what BALUA is, what have we done and will our future be. We also launched a balloon from the exhibition site which was both a huge technical and social success. There were lots of people attending the event and we managed to recover all our payloads. Moreover, BALUA founder and coordinator – Carlos Diogo Henriques – was a featured speaker and did a presentation on Sunday about Stratospheric Balloons: A Scientific Platform For The Future.
Our MakerFaire weekend was capped off by BALUA being awarded as one of the projects that demonstrated greater creativity, ingenuity and innovation for their MakerFaire exhibition. We are thrilled by the recognition and we guarantee the Arduinos and Bitalino will be pu to good use in near the future.
We loved the experience and we can only hope that this will start to become a yearly event. Until then we will be seeing you from above!!!

The flight of today (September, 20) was a huge success!!! The launching site was amazing and landed safely in Santarém.
We collected some awesome photos in Lisbon. The full set of images will be in our gallery section soon.
And don’t forget to visit the balua stand tomorrow in Pavilhão do Conhecimento.


As we already said before BALUA will be present in MakerFaire Lisbon. This event will occur this weekend (20 and 21 of September).
And yes, as you might have guessed, we will have another launch! This time on the roof of Pavilhão do Conhecimento. You can watch it happen tomorrow (September, 20) at about 12.00am.
Here is the launch information:
Launch coordinates are: 38.762297, -9.095591.
It will be broadcasting APRS (144.800MHz) with callsign CS5CEP. You can follow us here.
SPOT tracker link.
Seeing you from above!

Balua was officially announced as one of the groups that will be present in the Portuguese edition of the Maker Faire!
For more information check the official website of the event and a small synopses of our work HERE!
If you don’t know what Maker Faire is:
The Maker Faire is the Greatest Show (and Tell) on Earth — a family-friendly showcase of invention, creativity and resourcefulness, and a celebration of the Maker movement. It’s a place where people show what they are making, and share what they are learning.
Makers range from tech enthusiasts to crafters to homesteaders to scientists to garage tinkerers. They are of all ages and backgrounds. The aim of Maker Faire is to entertain, inform, connect and grow this community.
The original Maker Faire event was held in San Mateo, CA and in 2014 celebrated its ninth annual show with some 1000+ maker exhibits and 120,000+ people in attendance. World Maker Faire New York, the other flagship event, has grown in three years to 500+ makers and 55,000 attendees. Detroit, Kansas City, Newcastle (UK), and Tokyo are the home of “featured” Maker Faires (200+ makers), and community-driven, independently organized Mini Maker Faires are now being produced around the United States and the world.
Information taken from here.
Design, layout and routing is finished, what a fantastic outcome!!
Balua’s All In One Tracker second iteration is now on it’s way to the fab house (this time we’re going to try oshpark).
The overhaul PCB are has decreased 34% from 55*100mm to 55*60 mm while keeping all the features and adding a huge cutoff Fet, more options, headers and a great 9DOF IMU!
Our GitHub repository has been updated as well, check it out!

This is the first time we go all the way down the road, from the breadboard to the final PCB small production run.
This article shares some pictures of the process we went thru to get our custom tracker!
Well, it all starts with a layout form Eagle (this one is available form our GitHub Repository).

When the layout is ready, Gerber files are sent to a PCB house (we’ve used hackvana).

Once the PCBs arrive, it’s time to check every detail, place the components on the PCB, check if everything fits and place it in the fixture block, as pictured below.

In the picture above the PCB lays on a Stencil8 alike fixture block, ours was made using a piece of acrylic laying around the workshop instead of solid aluminium, but works fine!!

This fixture block and tooling pins are crucial to get a perfect alignment between the PCB and the stencil.
Next step is simple, spread solder paste and pick&place (by hand) every single component. Put it in the reflow oven for 10 minutes and it’s done!
This is the result! Isn’t it beautiful?
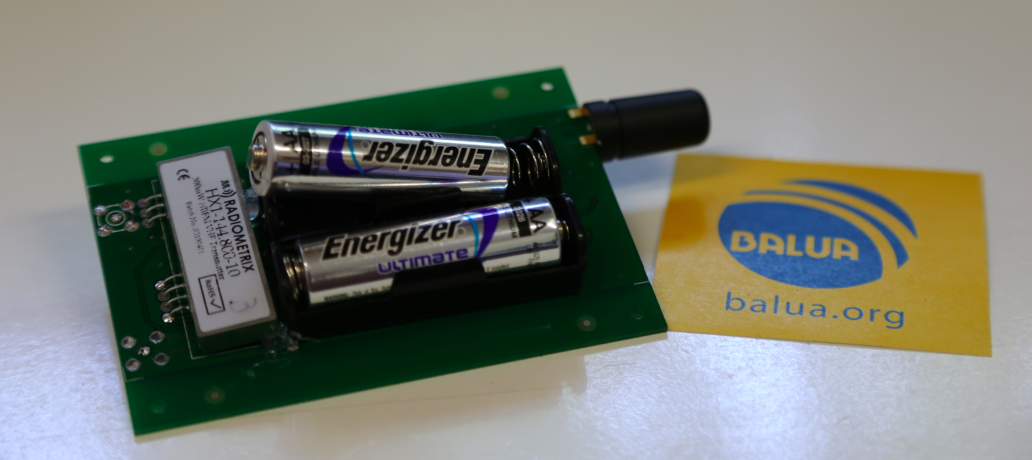


The specimen in the picture flew in our last launch and proved to be rock solid!